Why Did My Acer Laptop’s Cursor Disappear?
This is a common problem among Acer laptop users. It’s not a big deal, but if you’ve ever experienced it, you might be wondering why it happened. You may think that there was a virus or spyware installed on your computer, but that isn’t true.
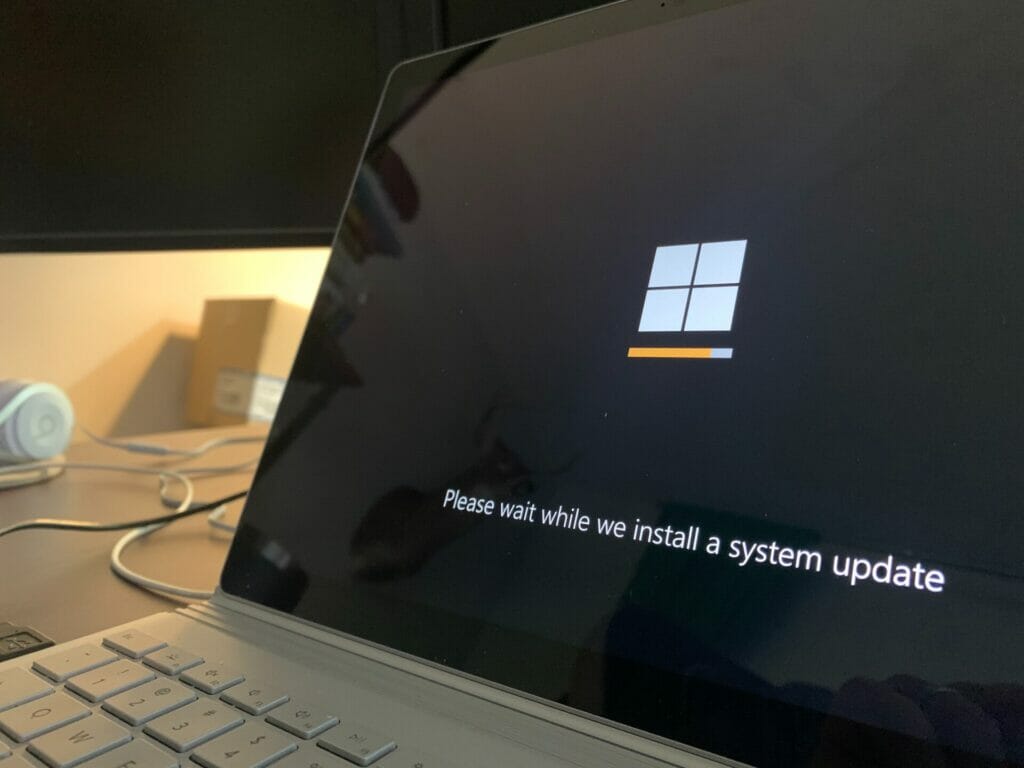
It may be because of faulty hardware like a loose connection from your wired mouse, there must be an issue with an internal driver, maybe it’s because your driver is not up to date, or a recent OS update can cause it to disappear.
There is no specific reason for the cursor disappearing from the Acer laptop screen.
7 Ways To Fix A Missing Cursor On An Acer Laptop
Follow these fix-it steps to solve the mouse cursor or pointer disappearing on the Acer laptop.
A tip while fixing your issue via any method on the screen. In the absence of a mouse cursor, navigating through the apps and software becomes difficult, but it is not impossible!
You could always use your keypad to navigate various apps and configure the settings.
The ctrl key, arrow key, Enter key, and spacebar key comes in handy while navigating your laptop through the keypad without a mouse or mouse pointer.
Try out either of the following solutions based on the problem you diagnose:
1. Wired Mouse
If you’re experiencing problems with your wired mouse, there are two common reasons why it might disappear. First, if you’re not using a wireless mouse, you may have accidentally disconnected it from your computer. Second, if you’re using a wireless mouse, it may be losing its signal.
To fix either problem, simply unplug the mouse from your Acer laptop and plug it back in again. You’ll probably find that it solves your issue.
2. Wireless Mouse
This tutorial explains how to fix the problem where the cursor disappears on your Acer laptop after connecting a wireless mouse. You’ll find out how to bring the cursor back to the display using two simple steps.
First, remove the mouse from its USB port. Then plug the mouse back into the same port and turn on the computer. Finally, restart the mouse if necessary.
You may need to repeat the process several times until the cursor appears on the screen.
If none of the above methods works, you may need to update your mouse driver. If you’re unsure whether your mouse driver needs updating, please refer to our article on How to Update Drivers.
3. Check Windows Update For Updates
First, update your computer’s drivers. Then, if that doesn’t work, try checking Windows Update for updates. You may find that there are new driver versions available for your device.

4. Run The Windows Built-in Troubleshooter
If your cursor disappears on your laptop, there are several steps you can take to resolve the problem. First, run the Windows built-in troubleshooter. Next, click on Device Manager.
Then, expand Display adapters and look for anything related to touchscreen devices. If you find anything listed here, right-click on it and select Uninstall. Finally, restart your computer and see if the cursor reappears.
5. To Get Your Cursor Back On The Screen, Try The Following Combinations
There are several reasons why your cursor may disappear from your computer screen. You may have accidentally pressed the Fn key + F1 or Fn key + F2 keys. Or maybe there was a problem with your touchpad. Whatever the reason, try these five solutions to get your cursor back on the screen.
Check for the mouse settings. Open the search bar in the start menu and search for Touchpad Settings. Click on it by pressing Enter or Spacebar. Then disable it and enable it once again.
Check for the mouse settings. Open the search bar in the start menu and search for Touchpad Settings. Click on it by pressing Enter or Spacebar. Then disable it and enable it once again.
Alternatively, you could open the Control Panel and click on the Devices icon. From here, select the Mouse & Touchpad option. Once inside, scroll down until you find the Device Settings section. Here, you’ll find options to change the sensitivity of the mouse. Disable it and reenable it.
You could also press Windows Key + R and type the control mouse. After doing so, click on the Device Settings tab. Scroll down until you reach the Device Settings section. There, you’ll find options related to the mouse. Disable it, and reenable it.
6. Uninstall The Drivers
Sometimes, uninstalling the drivers can solve the problem. You’ll find the driver software under Device Manager. Right-click on the device and select Uninstall. Then reboot the computer.
You may also try reinstalling the operating system if you haven’t done that already.
7. Restart Your Laptop
Sometimes, the cursor disappears on your computer after installing new hardware. Restarting your computer usually fixes the problem. However, if restarting your computer doesn’t work, you’ll need to uninstall the driver for your mouse.
To uninstall the driver, open the device manager and select the category “Mice and other pointing devices”. Then click on the mouse icon and press Uninstall. You may need to reboot your computer after uninstalling the driver.
Why Is My Acer Laptop’s Touchpad No Longer Working?
Acer laptops come with a built-in touchpad. However, if your touchpad isn’t working properly, there are several reasons why this might happen. Some of the most common causes include:
The touchpad is turned off.
Your Acer laptop isn’t booting correctly.
There’s an issue with BIOS settings.
You have outdated or incompatible drivers.
To fix any issues related to your touchpad, try restarting your computer and pressing F2 during startup. If that doesn’t work, you’ll need to download and install updated drivers.
How To Resolve An Acer Laptop’s Touchpad Issues
Here are some fix-it problem solvers that you can follow to make sure that your Acer laptop’s touchpad issues can be fixed.
Turn on the Touchpad
First, open the Run prompt by pressing Windows + R. Then type in Control Panel and hit Enter. Next, click on Hardware and Sound under the System section. Finally, scroll down until you reach Mouse and Touchpad. Open Additional mouse settings and click on your device.
Now, you should see a new tab called Mouse Settings. Scroll down to the bottom of the list and click on Enable Touchpad. Now, close the window and restart your computer.
You should now be able to move the cursor around using your finger or pen.
Restart Your Laptop
Sometimes a simple PC reboot can solve this annoying problem right away. But if this won’t work, you can still try the other solutions listed below.

Reinstall The Touchpad Driver
If you’ve ever had trouble getting your touchpad working properly, then you’ll appreciate this tutorial. It shows you how to reinstall the touchpad driver on your laptop.
Driver Easy is a free program that helps you install the right drivers for your computer. It does this by recognizing your system and finding the correct drivers for it automatically. You don’t need any special knowledge or experience to use Driver Easy. All you need to do is download the software and run it.
Once you start using Driver Easy, it will scan your entire system and identify every device connected to it. Then it will show you the drivers available for those devices. From there, you simply click on the driver you want to install and let Driver Easy handle the rest.
You don’t need to know anything about computers or drivers to use Driver Easy. Just download the software and run the installer. Once installed, you won’t have to deal with any problems related to your touchpad anymore.
Update Your Touchpad Drivers
If your cursor disappears on your laptop, there’s a good chance that your touchpad drivers haven’t been updated properly.
To fix this problem, you’ll need to update your touchpad drivers. Press the Fn key and the f6 or f7 key (the function button with a touchpad icon) at the same time on your laptop keyboard. Then check to see if your touchpad works correctly.
If you still can’t use your touchpad after updating your drivers, try restarting your computer.
Modify The Touchpad Settings From BIOS
To access the BIOS, restart your laptop and hold down the F2 or Del key during boot up. Once you’ve reached the BIOS screen, look for the main menu at the bottom of the screen.
Then, using the right arrow key, navigate to the “Main” tab and select the “Touchpad” section. Press Enter to open the options. Now, using the down arrow key, highlight the “Advanced Configuration” option and press Enter. Finally, select the “Basic” option. Save your changes and reboot your system.
Restore Windows
If all fails, try to reformat your PC by restoring your OS and settings to factory settings and see if the problem is solved.
